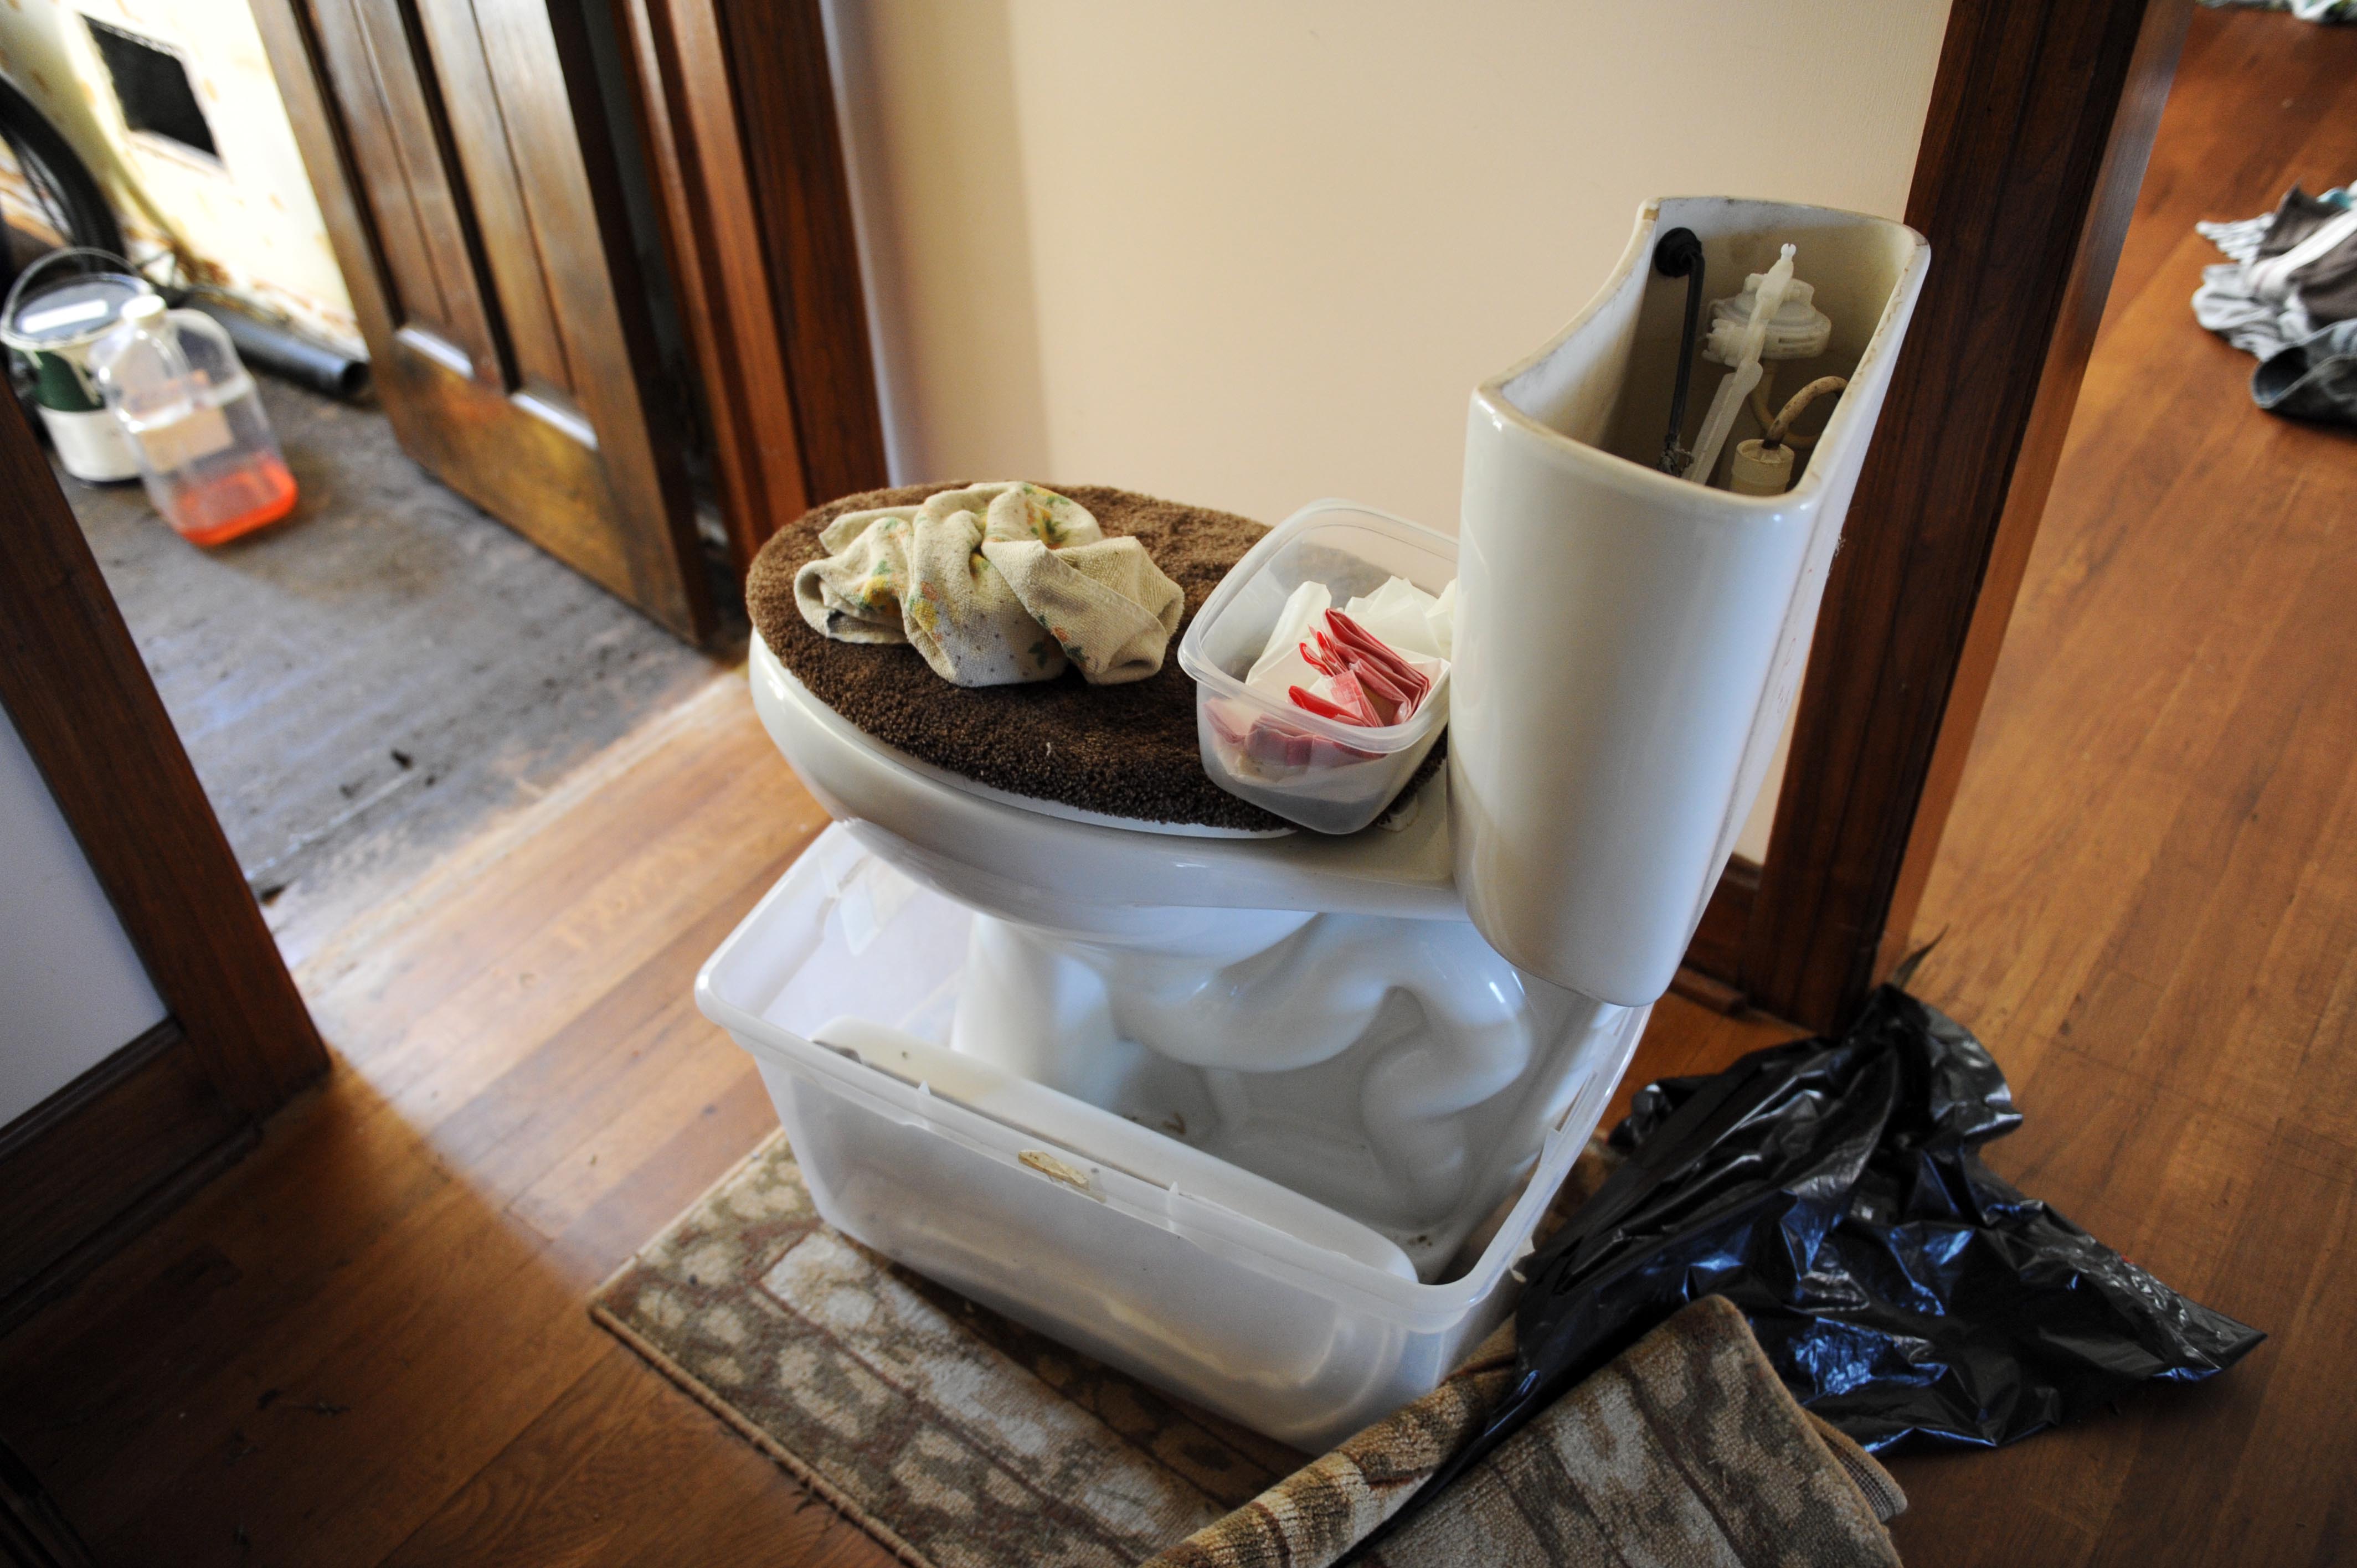
The bathroom renovation has been going on for a year and it is finally done! I finished it up last month and was so excited to get it done. It all started last summer when the sink had issues and just started to flood the floor and drip water into the basement. The sink went out of the bathroom and then I decided that well, I just need to redo the entire bathroom! It was not my style at all and I really wasn’t a huge fan of anything in it besides the light fixtures and mirror. So, I started the year long renovation.
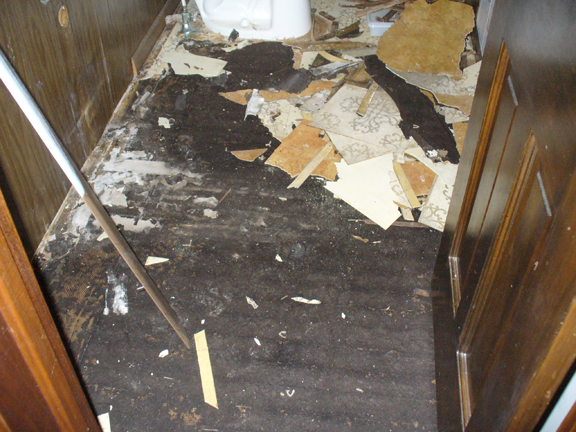
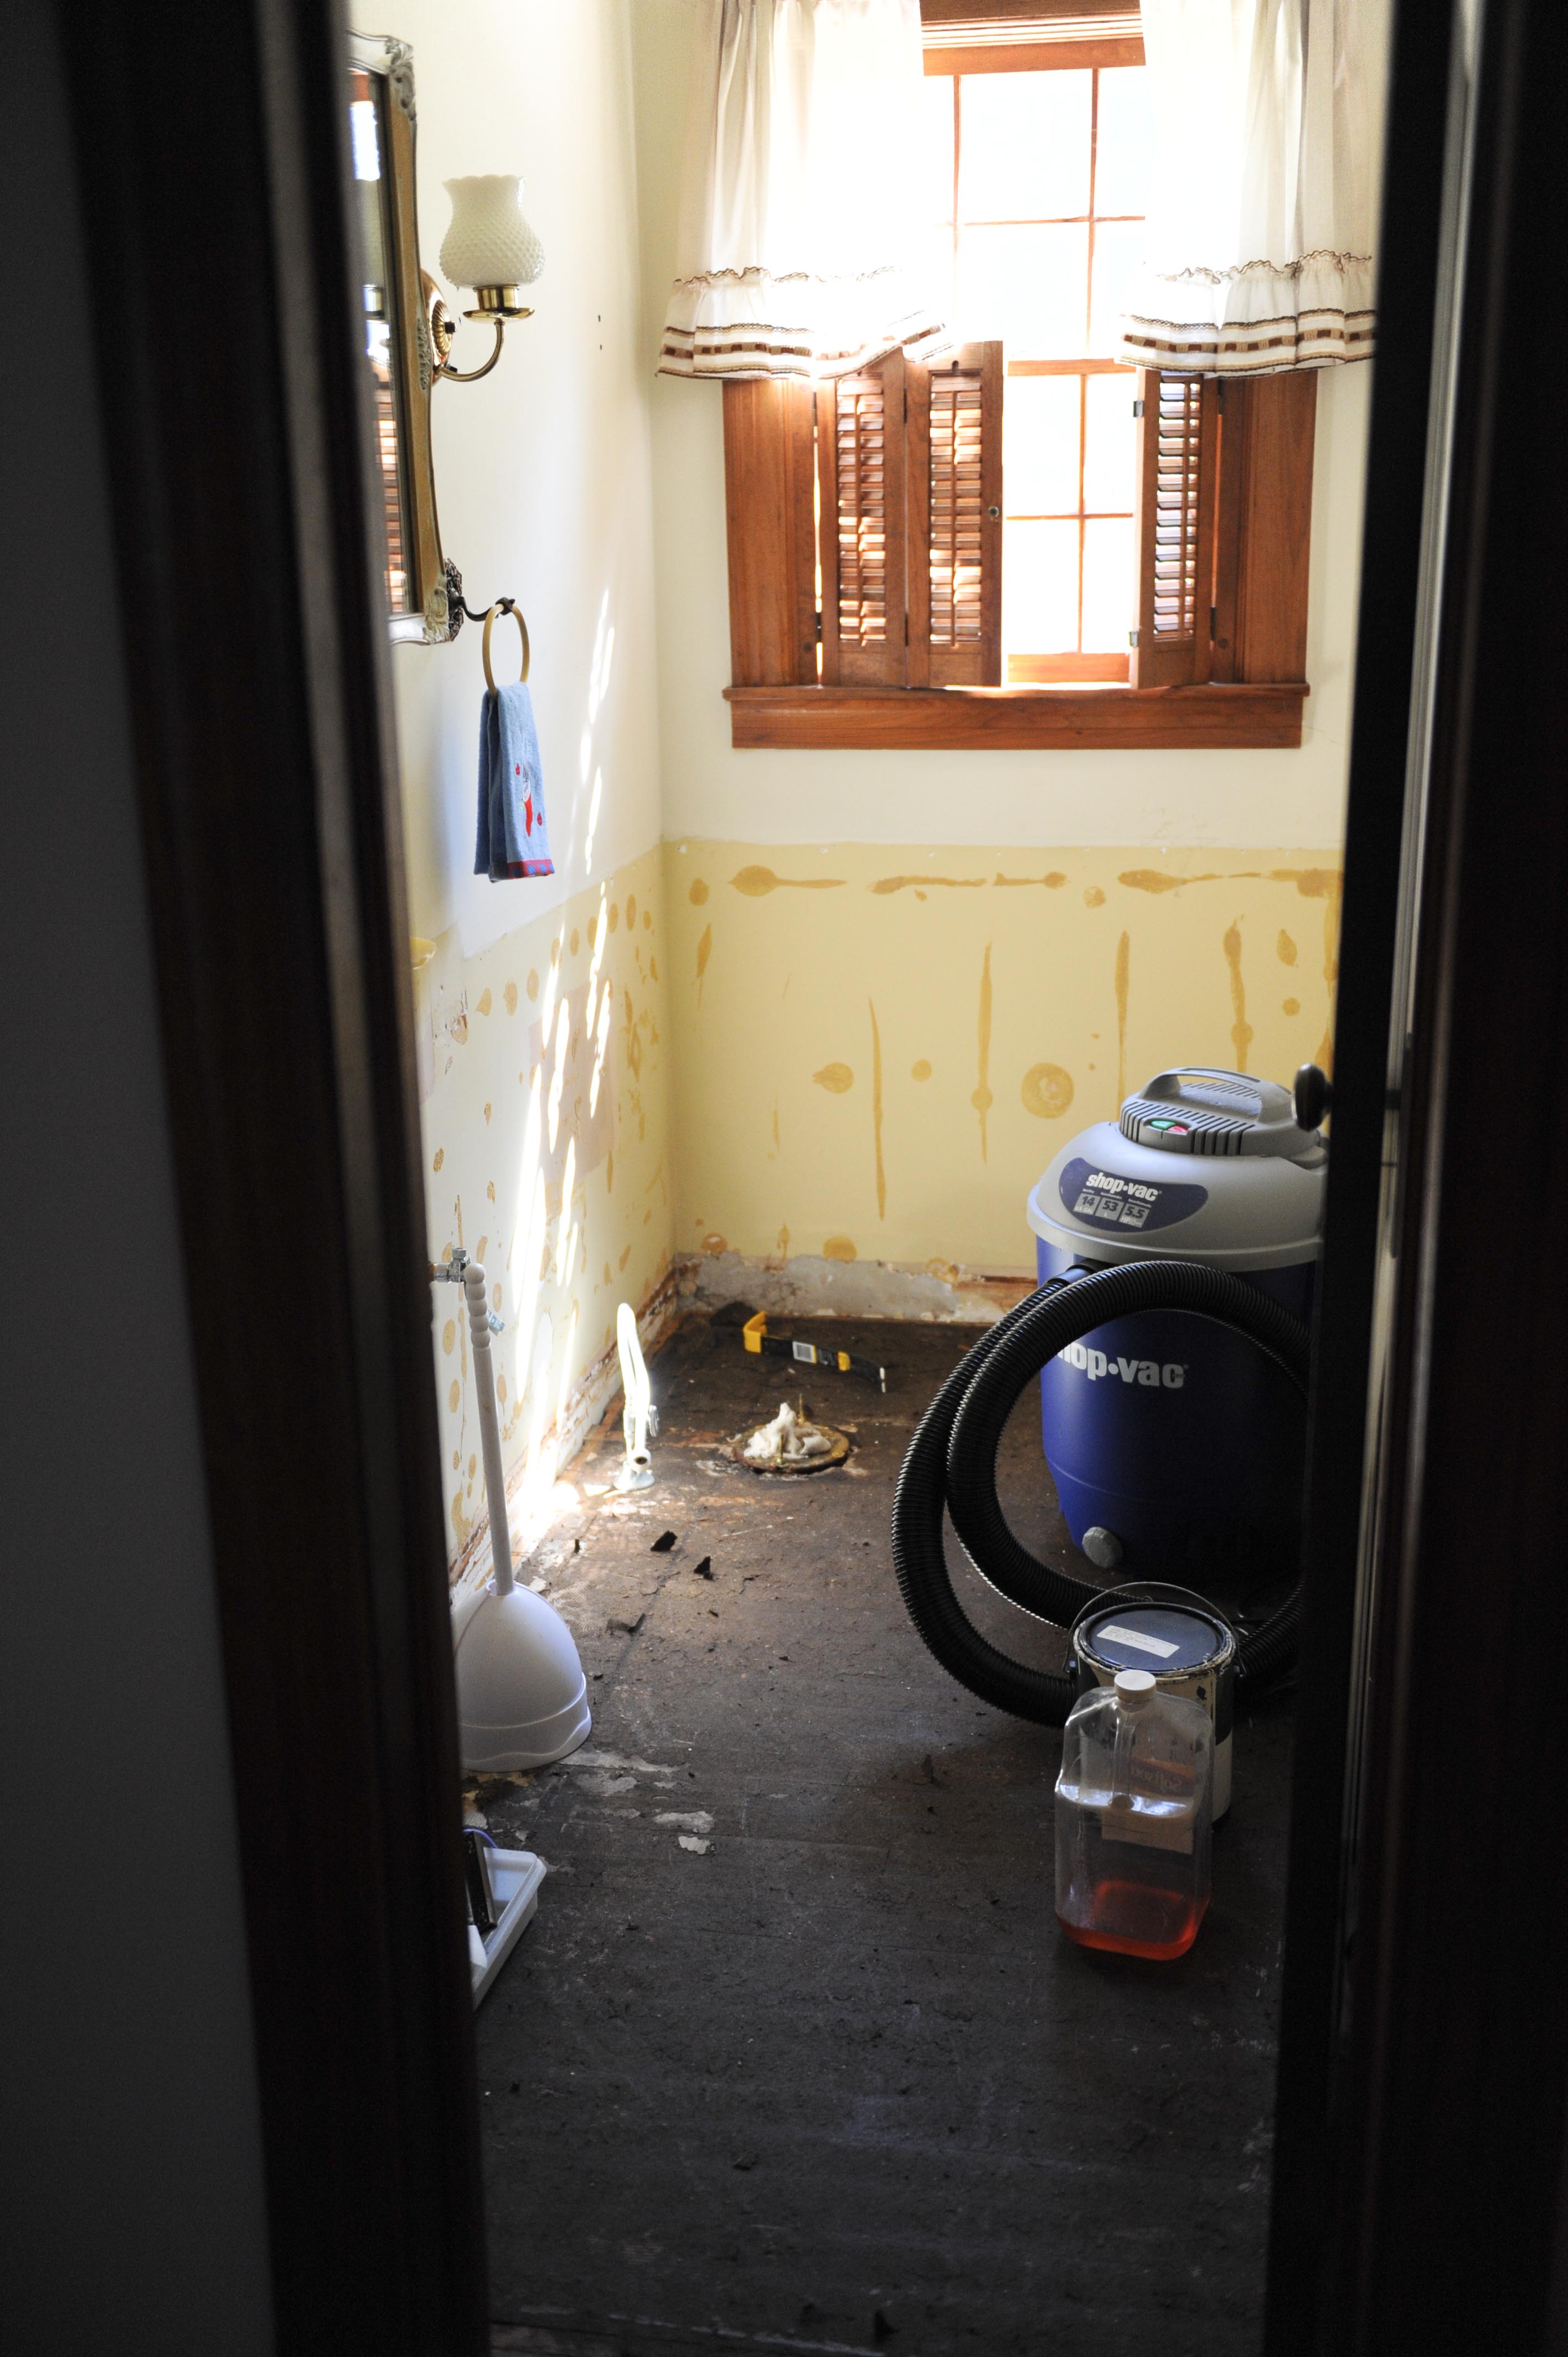
The carpet had to come out first, then the layer of linoleum.
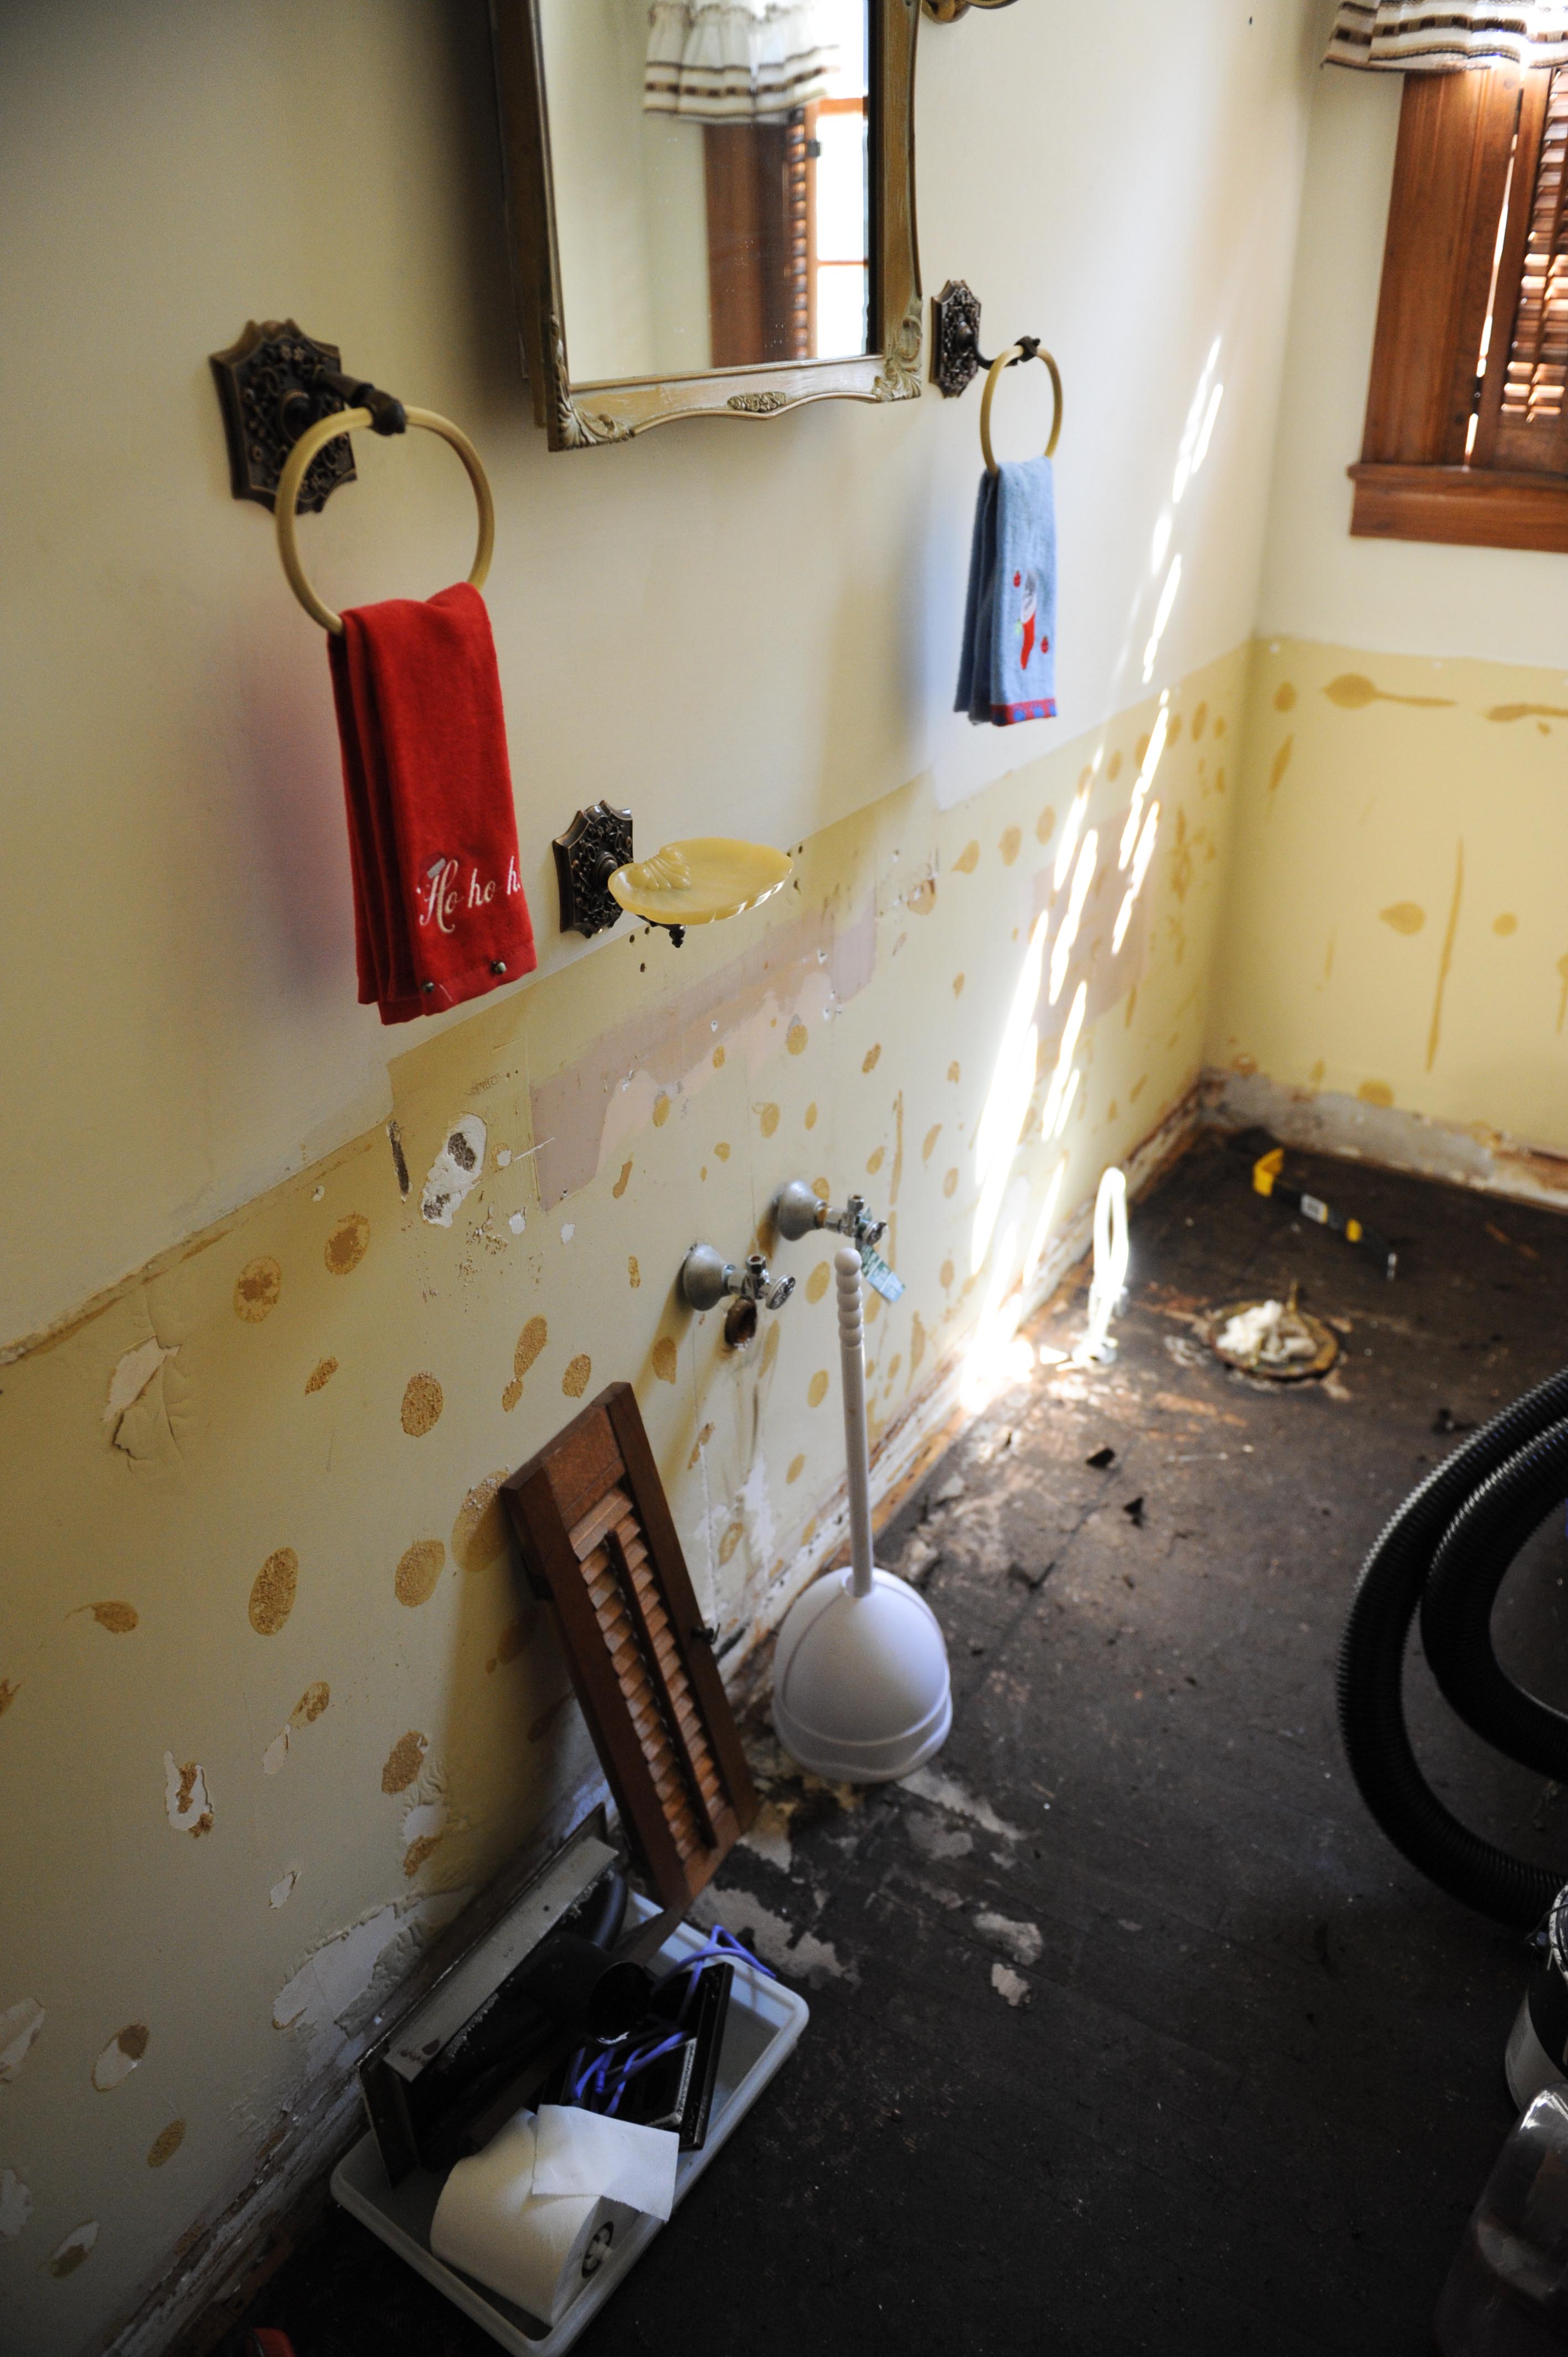
Then the floor had to be sanded to get all the black paper off to reveal gorgeous hardwood floors.
That whole part right there took most of the time. It took awhile because I didn’t have enough strength to actually work the belt sander that was needed to sand the floors. I would start sanding and I could only get up a little bit of the black paper and that was after I had mineral spirited the crap out of it and scraped it .
I did pick out the paint color though when I first started 🙂 I do enjoy picking out paint chips. I think that might be my favorite part of doing renovations.
Here is a bunch of photos taken with my small point and shoot camera and some with the nice camera towards the end to document the whole thing. I actually don’t have a picture of the old sink in the bathroom. I started taking pictures afterwards… but you get the idea!
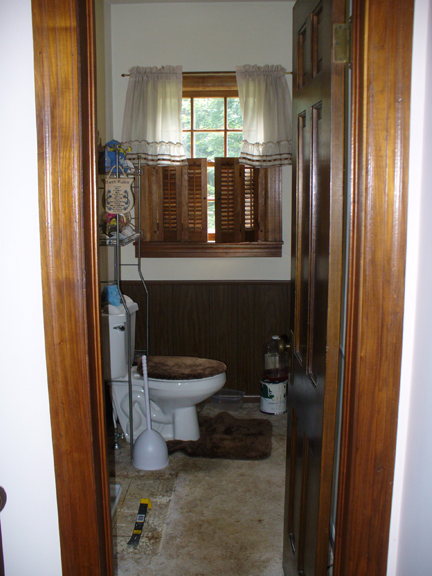
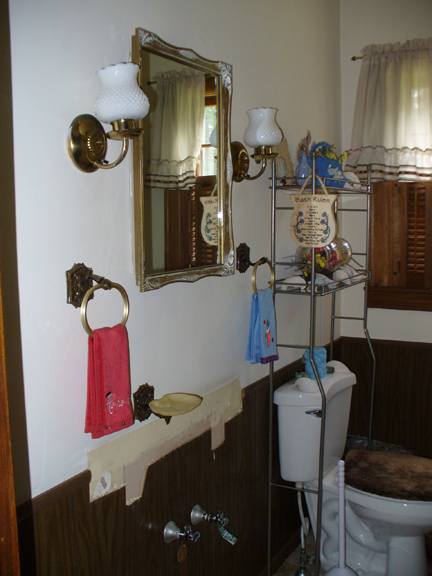
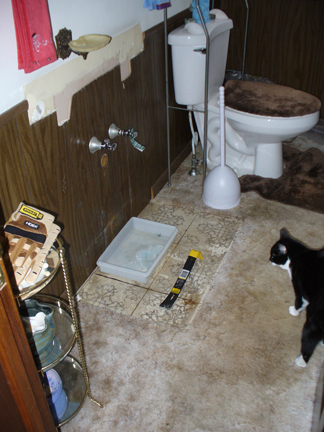
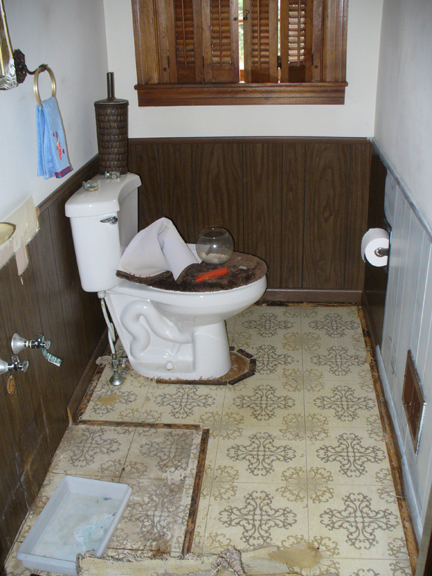
And now the new bathroom
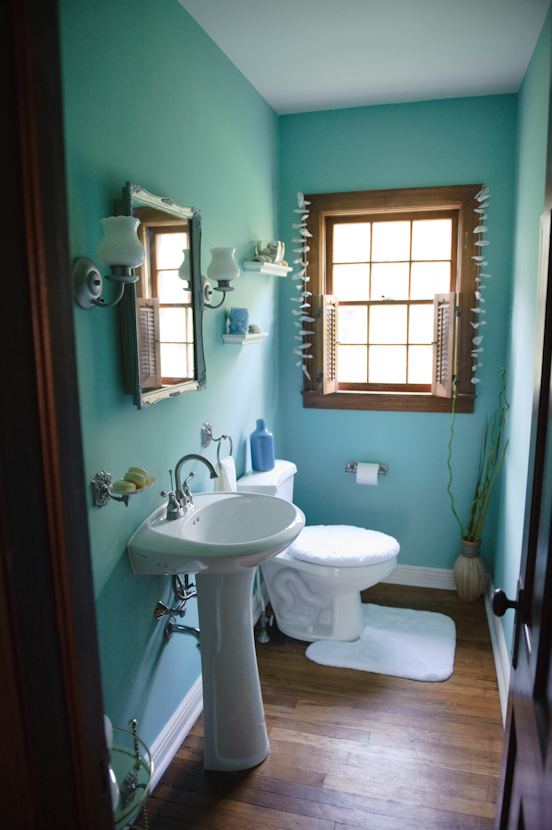
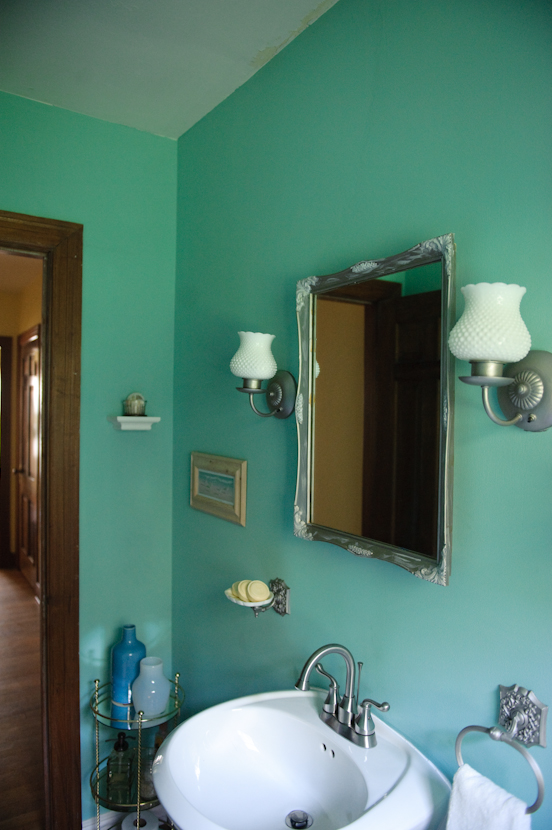
It changed a little 🙂
The lights, mirror, soap dish and towel holder are all the old ones just painted!
It is painted a blue/turquoise. It kind of changes color a bit depending on the light – its fun!
Now onto some details!
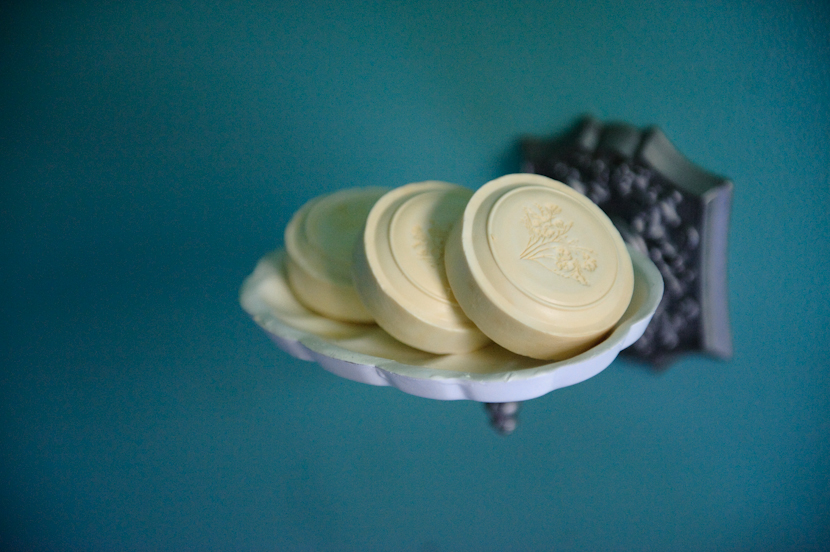
Soap from my cousin’s store in Lancaster My Favorite Things
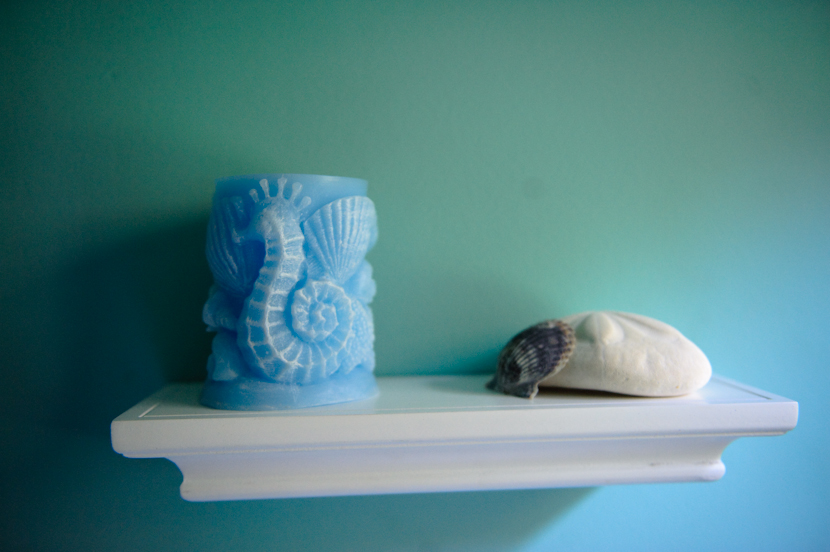
I love these white shelves – they were in a pack of 3 from Target
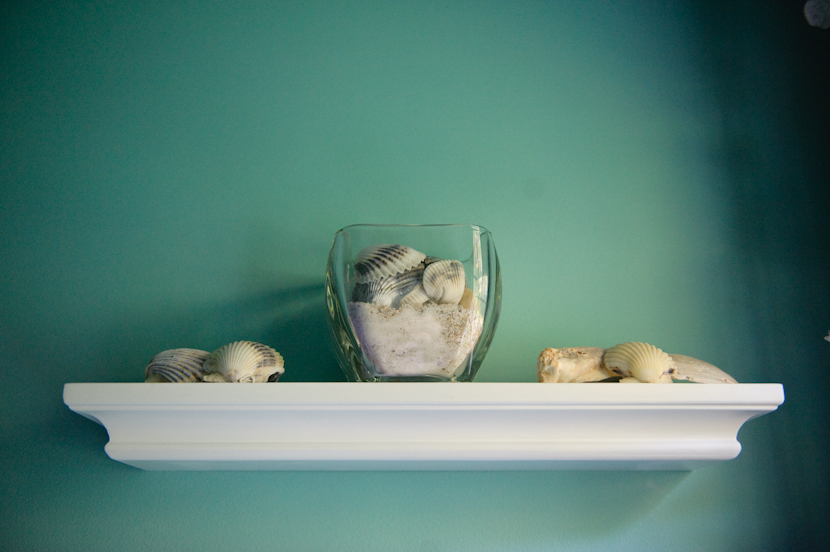
The shells are from my many excursions to the Outer Banks and Myrtle Beach.
Sand from Wally World
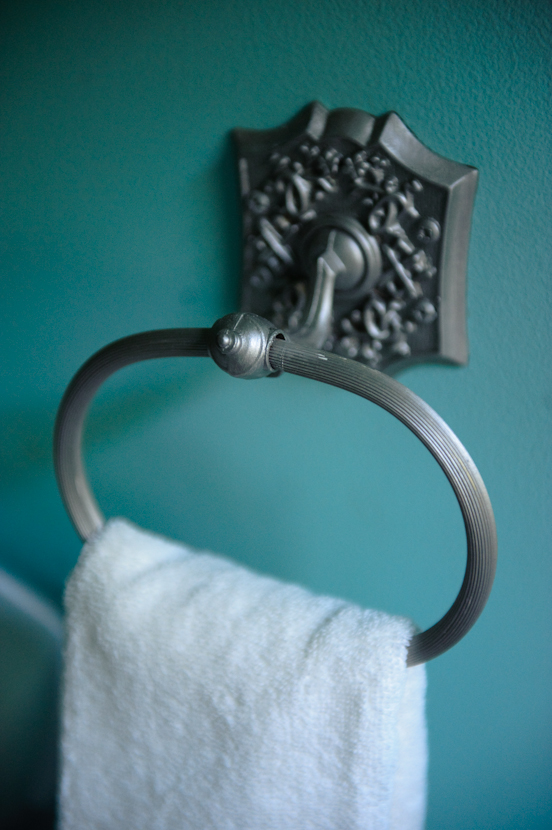
Old towel rack. I found metal paint at Hobby Lobby and painted them in Platinum
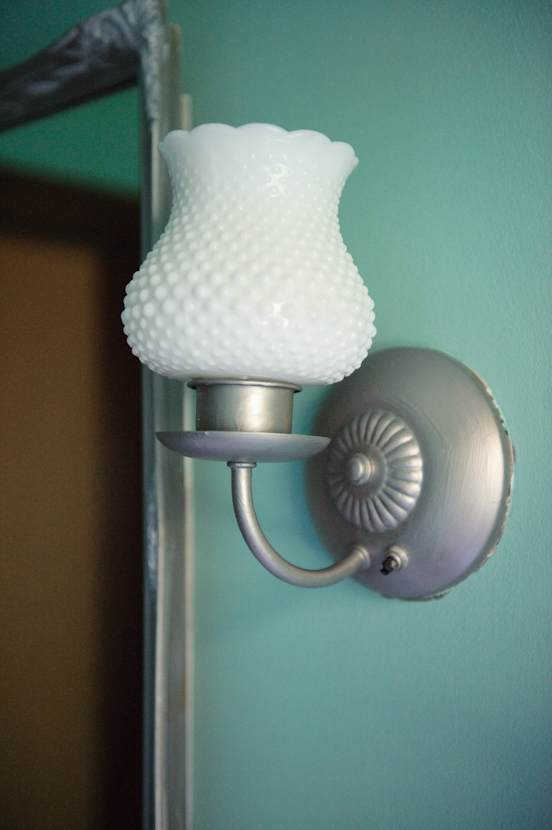
I LOVE how the lights turned out. I never thought the white would look so good with the Platinum paint! I still have some touch ups to do, but I love it!
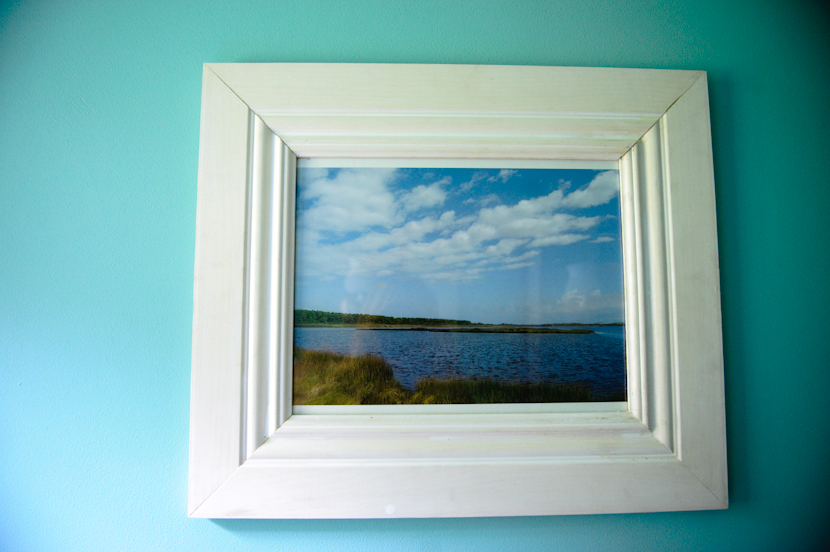
Normally I do not put pictures that I took up in my house – this one I did though. The frame is actually made from extra trim that I had from doing the trim in the bathroom. One of my friends cut it for me and put it together. I glued glass to the back and then attached the picture to the back. Cheapest frame I have bought/made for an 11×14 print! I really want to make more of these since I think they are so cool.
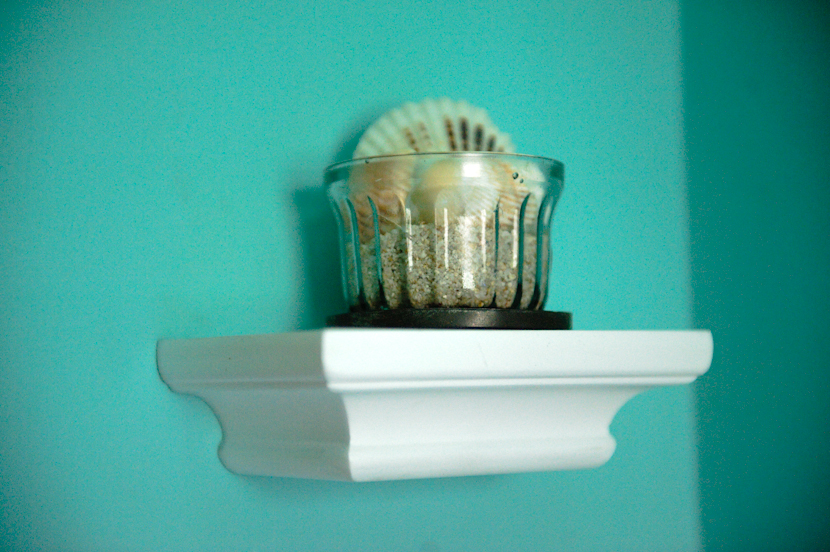
This is one of my 3 shelves. This is the 6in shelf… its to cute. The jar was actually my grandmothers that has been in the kitchen sitting on the window
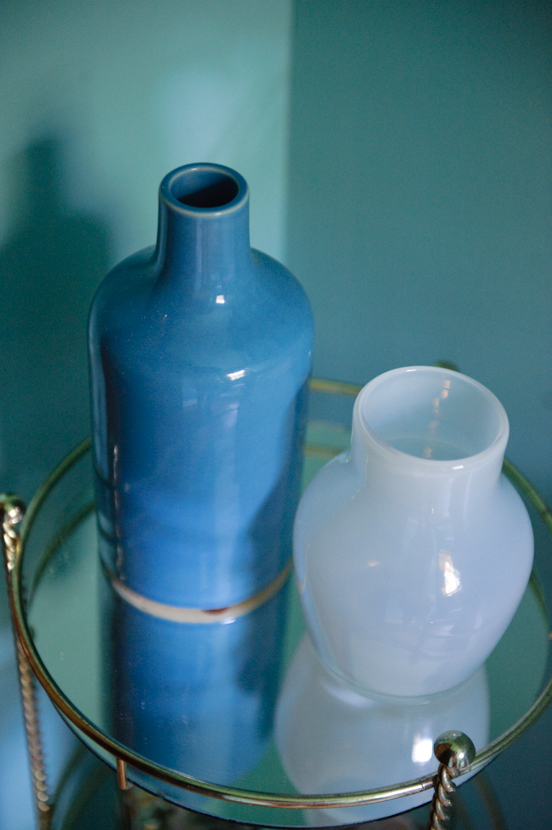
I had some design dollars to use from West Elm so I used them 🙂 The blue vase was on clearance – score!
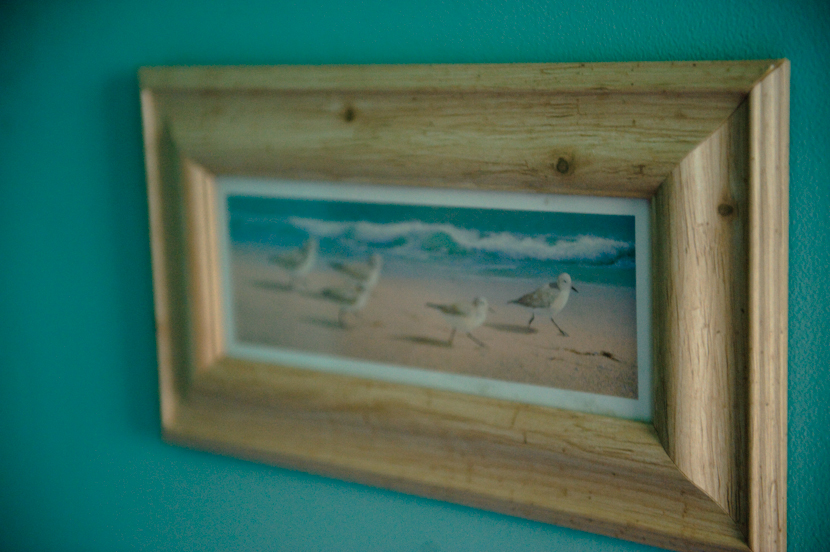
I got this picture from Myrtle beach years ago… like 5.. I don’t even remember how long ago.
I think it is happy to finally have a home!
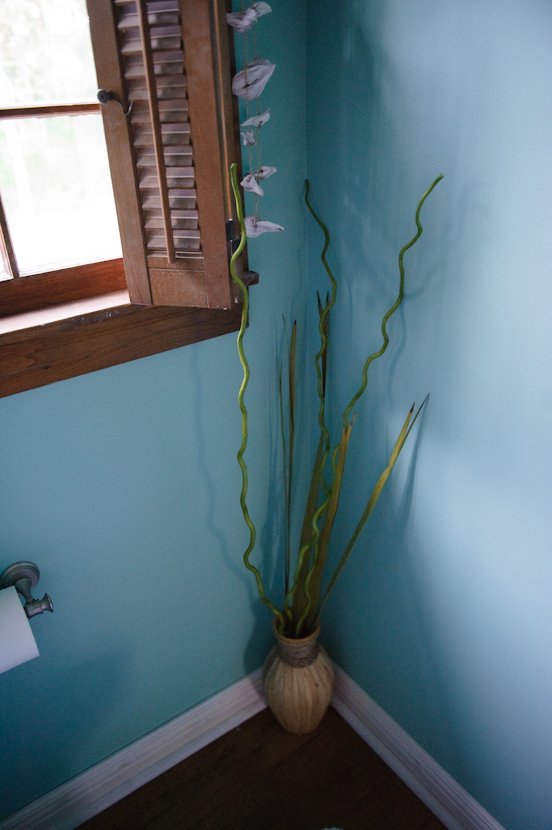
Vase that I found at TJ max and added some dried sticks to
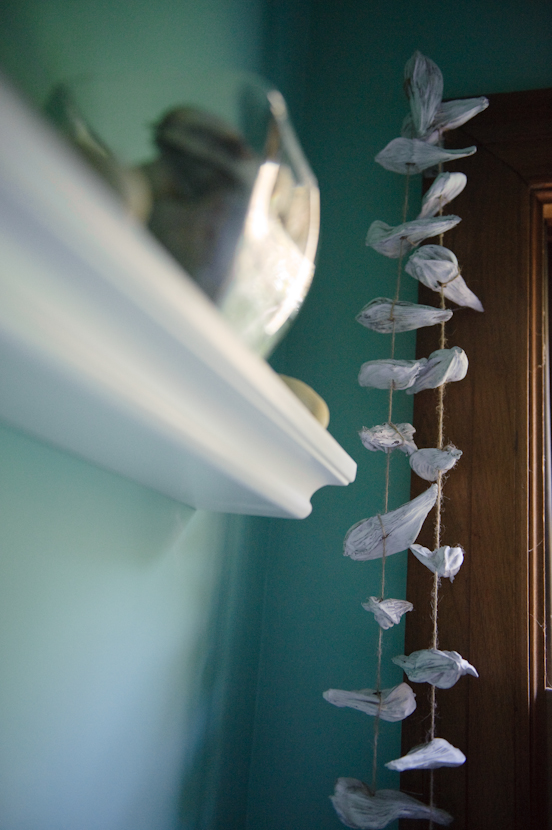
These are the cool, funky thing in the bathroom. They are painted pods from West Elm. I fell in love with them. I still have to make a valence for the window, but I thought this dressed them up nicely.

I hope you enjoyed the renovation!
This bathroom is what is considered the “client” bathroom since it’s closest to the studio. Make sure you check it out when you are here!
I am an Ohio based photographer who loves photographing weddings and engagements, traveling to beautiful sandy beaches, running after our adorable son Wyatt and border collie Bentley. A chips and salsa freak. Lover of coconut smelling lotions - candles - tea - desserts and... well anything that smells coconuty, and finally warm summer nights on our patio! Come hang out with me on Instagram and Facebook!
With Love,
Krista
Instagram
Facebook
Our 6 best tips for having a relaxed wedding day and an extra bonus that is near and dear to Scott and I. Grab our free guide to learn ALL about how to have a relaxed wedding day.
Grab The Guide
6 Tips for a relaxed wedding day
Grab the FREE GUIDE